Enable Autocompletion on Powershell
How to Enable Autocompletion on PowerShell: A Step-by-Step Guide
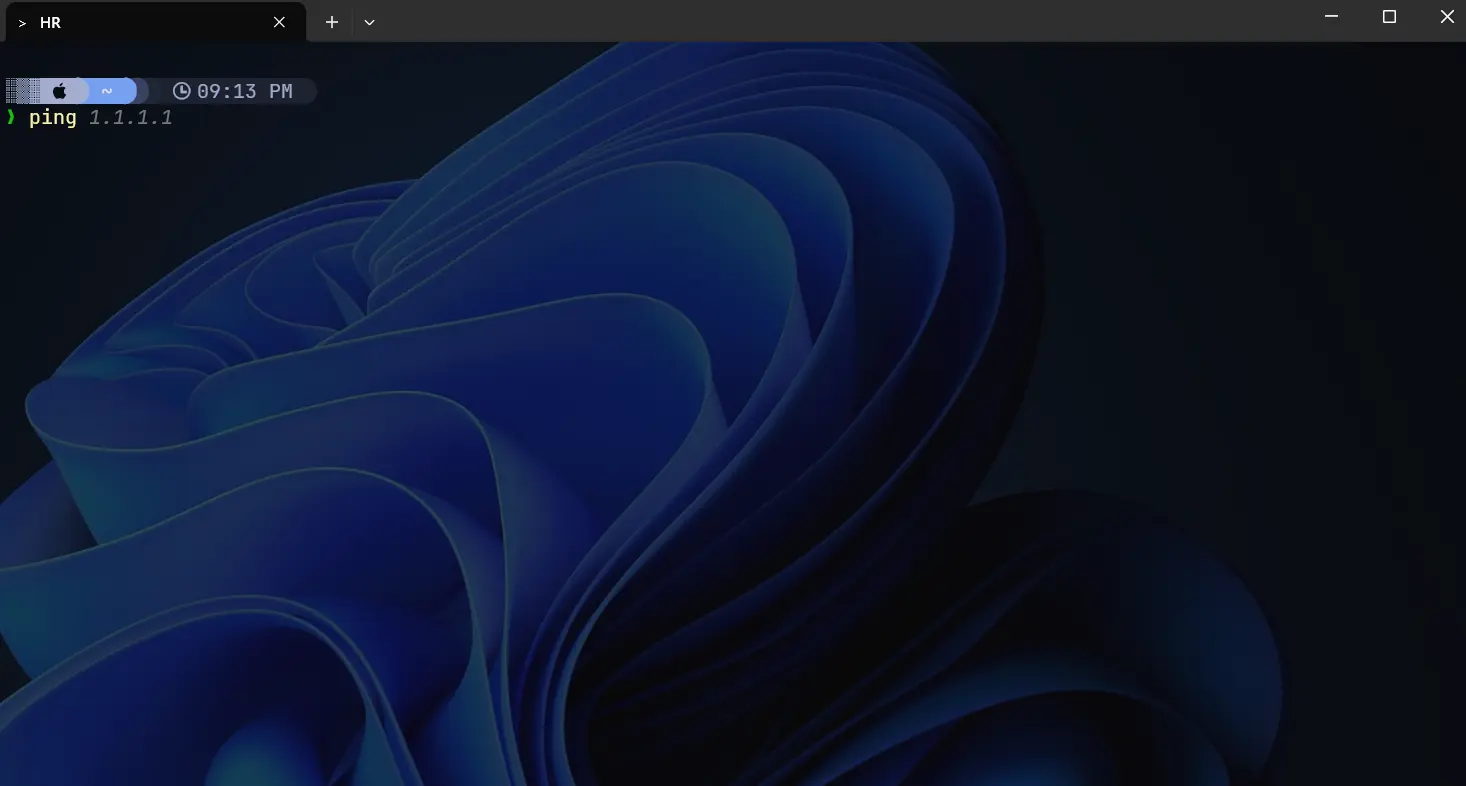
Are you looking to supercharge your PowerShell experience with autocompletion? Autocompletion can significantly boost your productivity by predicting and completing your commands, reducing errors and saving time. In this blog post, we will walk you through the simple steps to enable autocompletion in PowerShell using two essential commands:
Install-Module PSReadLine -AllowPrerelease -ForceInstall-Module -Name PowerShellGet -Force
Let’s dive in!
Why Enable Autocompletion in PowerShell?
Autocompletion in PowerShell enhances your command-line efficiency by:
- Reducing Typing Effort: Quickly complete commands without typing them out fully.
- Minimizing Errors: Avoid typos and syntax errors by using the suggested completions.
- Speeding Up Workflow: Navigate through available commands and parameters swiftly.
Step-by-Step Guide to Enable Autocompletion
Step 1: Install PSReadLine Module
The PSReadLine module is crucial for enabling autocompletion and enhancing the overall command-line experience in PowerShell. Here’s how to install it:
Open PowerShell as Administrator: Right-click the Start button and select “Windows PowerShell (Admin)” or “PowerShell (Admin)”.
- Run the Install-Module Command: Execute the following command to install the PSReadLine module:
1
 Install-Module PSReadLine -AllowPrerelease -Force
Install-Module: This cmdlet installs the specified module.PSReadLine: The module name.-AllowPrerelease: This flag ensures you get the latest pre-release version, which might include new features and fixes.-Force: This parameter forces the installation, overriding any prompts for user confirmation.
- Verify Installation: Check if the module is installed correctly by running:
1
 Get-Module -ListAvailable PSReadLine
Step 2: Install PowerShellGet Module
PowerShellGet is a module that provides cmdlets for discovering, installing, updating, and publishing PowerShell artifacts like modules and scripts.
- Run the Install-Module Command: Execute the following command to install the PowerShellGet module:
1
 Install-Module -Name PowerShellGet -Force
Install-Module: This cmdlet installs the specified module.-Name PowerShellGet: Specifies the module name.-Force: This parameter forces the installation, overriding any prompts for user confirmation.
- Verify Installation: Ensure the module is installed by running:
1
 Get-Module -ListAvailable PowerShellGet
Step 3: Restart PowerShell
After installing the necessary modules, restart PowerShell to apply the changes. This ensures that the autocompletion features provided by PSReadLine are fully activated.
Step 4: Customize Autocompletion (Optional)
PSReadLine offers customization options to enhance your autocompletion experience:
- Edit Key Bindings: Customize key bindings to suit your preferences using:
1
  Set-PSReadLineKeyHandler -Key Tab -Function Complete
- Configure Colors: Change the color scheme for autocompletion suggestions:
1
2
3
4
5
  Set-PSReadLineOption -Colors @{
   "Selection" = [ConsoleColor]::Yellow;
   "Emphasis" = [ConsoleColor]::Gray;
   "InlinePrediction" = [ConsoleColor]::DarkBlue
   }
- Restore back to Default color scheme for autocompletion suggestions
1
2
3
4
5
Set-PSReadLineOption -Colors @{
   "Selection" = [ConsoleColor]::Black;
   "Emphasis" = [ConsoleColor]::Cyan;
   "InlinePrediction" = [ConsoleColor]::DarkGray
   }
Conclusion
Enabling autocompletion in PowerShell is a straightforward process that can dramatically improve your efficiency and accuracy. By following the steps outlined above, you can harness the power of autocompletion and enhance your PowerShell workflow. Install the PSReadLine and PowerShellGet modules today and experience the benefits of a more intuitive command-line interface.
For more tips and tricks on optimizing your PowerShell environment, stay tuned to our blog!