Setup Self-hosted Wireguard VPN with Monitoring Dashboard

How to Install WireGuard Dashboard in Docker
WireGuard is a modern VPN protocol that has gained significant popularity due to its simplicity, speed, and security. When you manage WireGuard VPN configurations, having an intuitive dashboard to monitor and control your WireGuard network can be incredibly useful. One such tool is the WireGuard Dashboard, a web-based interface that allows you to manage WireGuard configurations easily.
In this blog, we will walk you through the process of installing the WireGuard Dashboard using Docker, providing you with the necessary steps and configurations.
Prerequisites
Before you begin, ensure that you have the following:
- Docker installed on your server or machine.
- Docker Compose installed.
- Basic understanding of Docker and Docker Compose.
Steps to Install WireGuard Dashboard
1. Create a Docker Compose File
The easiest way to deploy the WireGuard Dashboard is by using Docker Compose. The following is a sample docker-compose.yml configuration that sets up the WireGuard Dashboard in Docker:
1
2
3
4
5
6
7
8
9
10
11
12
13
14
15
16
17
18
19
services:
  wgdashboard:
    image: donaldzou/wgdashboard:latest
    restart: unless-stopped
    container_name: wireguard-dashboard
    environment:
      - tz=Asia/Kolkata  # Change to your time zone if necessary
    ports:
      - 10086:10086/tcp  # Dashboard web UI access
      - 51820:51820/udp  # WireGuard port
    volumes:
      - conf:/etc/wireguard  # Mount configuration folder for WireGuard
      - data:/data  # Mount data folder
    cap_add:
      - NET_ADMIN  # Allow network administration permissions for WireGuard

volumes:
  conf:
  data:
2. Explanation of Configuration
Here’s a breakdown of the docker-compose.yml file:
- Image:
donaldzou/wgdashboard:latestpulls the latest version of the WireGuard Dashboard from Docker Hub. - Container Name: The container is named
wireguard-dashboardfor easy identification. - Restart Policy:
unless-stoppedensures the container will automatically restart unless manually stopped. - Environment Variables:
tz=Asia/Kolkata: Set the time zone for the container to match your location. Modify it to your local time zone if needed.
- Ports:
10086:10086/tcp: Exposes the dashboard web UI on port 10086 for access via a browser.51820:51820/udp: The WireGuard UDP port to allow VPN traffic.
- Volumes:
conf:/etc/wireguard: Mounts the WireGuard configuration directory to persist configuration files.data:/data: Stores persistent data for WireGuard Dashboard.
- Network Capabilities:
NET_ADMINgrants the container network administration capabilities, required for configuring and managing WireGuard.
3. Start the Docker Compose Setup
Once the docker-compose.yml file is ready, run the following commands to start the WireGuard Dashboard container:
1
docker-compose up -d
This will download the necessary image (if not already downloaded) and start the container in detached mode.
4. Access the WireGuard Dashboard
After the container has started, you can access the WireGuard Dashboard in your web browser by visiting:
1
http://<Your_Server_IP>:10086
Replace <Your_Server_IP> with the actual IP address of your server where the Docker container is running.
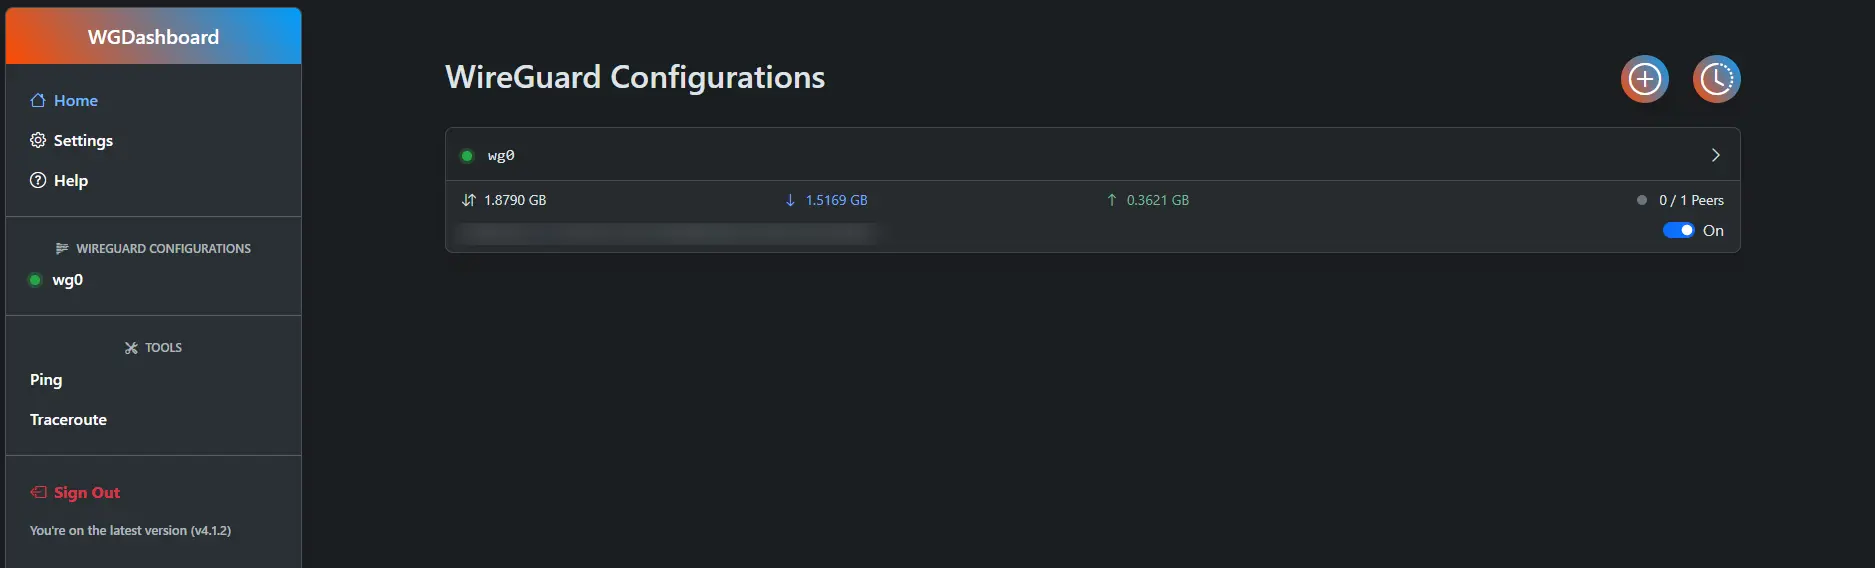
5. Configure WireGuard
Once logged into the dashboard, you can start configuring your WireGuard VPN by uploading your configuration files, adding peers, and managing the network.
Optional: Customizing the Dashboard
If you need to adjust the configuration for the dashboard (for example, changing the time zone or mounting different directories), simply modify the docker-compose.yml file and restart the container:
1
2
docker-compose down
docker-compose up -d
This will apply any changes made to the configuration.
References
For more detailed information on the Docker image and configurations, you can refer to the following resources:
These links provide additional context, troubleshooting tips, and more advanced configuration options for the WireGuard Dashboard.
Conclusion
Setting up the WireGuard Dashboard in Docker provides an easy and efficient way to manage your WireGuard VPN configurations. With Docker Compose, you can quickly deploy and start using the dashboard, monitor your VPN activity, and manage configurations all from a web-based interface.
By following the steps outlined in this blog, you’ll have a fully functional WireGuard Dashboard running on your server, allowing you to take full control of your VPN network.